Last verified: 21 May 2026
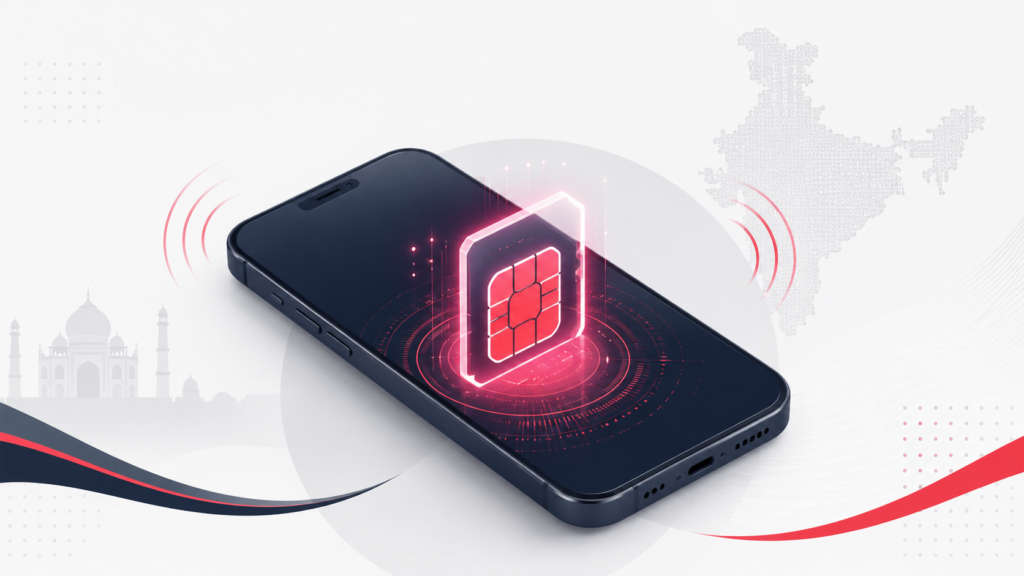
If you have bought a phone in the last couple of years, there is a good chance it can run an eSIM — and a good chance you have never used one. An eSIM does the same job as the small plastic SIM card you are used to, except there is no card. The SIM is built into the phone, and your network “writes” your number onto it digitally. In India, Jio, Airtel and Vi all support eSIM, and switching over is free. Here is what an eSIM actually is, why you might want one, and the exact steps for each network.
What an eSIM is
eSIM stands for “embedded SIM”. Instead of a removable chip, there is a small permanent chip soldered inside your phone. Your network sends you a profile — usually as a QR code or a push notification — and once that profile is installed, your phone is connected exactly as it would be with a physical SIM. You can make calls, send texts and use mobile data normally.
The number itself does not change. Converting to eSIM does not give you a new phone number; it moves your existing number from the plastic card onto the embedded chip.
Why bother switching
There are a few genuine advantages, and a couple of honest trade-offs.
The upsides: there is no card to lose, damage or wear out. Switching phones or plans can be done from your settings rather than by hunting for a SIM-ejector pin. On dual-SIM phones, an eSIM lets you run two numbers without giving up the second physical slot. And because the SIM cannot simply be pulled out and thrown away, a stolen phone is a little harder for a thief to go dark with.
The trade-offs: moving an eSIM to a new phone is more involved than swapping a card — you generally have to deactivate and re-issue the profile. Older phones do not support eSIM at all. And if you frequently switch handsets, a physical SIM is still faster to move around.
Check your phone supports it first
Before you start, confirm your phone is eSIM-capable. Most recent iPhones (iPhone XR and newer), recent Samsung Galaxy models, Google Pixel phones, and select Motorola, Oppo and Vivo devices support eSIM. The quickest check: dial *#06# on your phone. If an EID number appears alongside your IMEI, your phone has an eSIM. The EID is a 32-digit identifier you will need during activation, so note it down.
You will also need your number’s email address registered with your operator, because the eSIM profile is sent to that email.
How to switch on Jio
Jio’s conversion is done over SMS from the Jio number you want to convert.
- Find your EID and IMEI (dial *#06#).
- From your Jio number, send an SMS to 199 in the format:
GETESIM<32-digit EID><15-digit IMEI>. - Jio replies with a 19-digit eSIM number plus profile details.
- Send a second SMS to 199:
SIMCHG<19-digit eSIM number>. - There is a mandatory two-hour cooling-off period (a Department of Telecommunications requirement). After it, you will get an SMS asking you to confirm — reply
1to 199 to give consent. - You will then get an automated verification call. Answer it and follow the prompt.
- Jio emails you a QR code. Go to your phone’s eSIM settings, scan it, and the profile installs.
How to switch on Airtel
Airtel’s process is request-based and then completed in your phone settings.
- Start an eSIM request with Airtel — this can be done by emailing eSIM@airtel.com from your registered email address, including your mobile number and device IMEI, or via Airtel’s eSIM page.
- Airtel sends a confirmation and a QR code for activation.
- On your phone, go to the eSIM / “Add eSIM” section in network settings and scan the QR code.
- The profile downloads and latches onto the Airtel network automatically.
A couple of Airtel-specific cautions: after the request completes, incoming and outgoing SMS (including OTPs) can be barred for up to 24 hours, so do not start the process right before you need an important OTP. And do not tap “delete” in the eSIM settings during setup — that removes the eSIM entirely.
How to switch on Vi
Vi’s conversion is also SMS-based.
- Find your 32-digit EID (in device settings, or dial *#06#).
- From your Vi number, send an SMS to 199 in the format:
eSIM <EID> <Device Type> <Email ID>— use1for iOS devices and2for Android. - Verify the OTP sent to your Vi number.
- Answer the automated verification call and give consent by pressing
1. - Vi emails you a profile and QR code. Connect your phone to stable Wi-Fi, then go to the “Add eSIM” section and scan it.
- After the eSIM profile is active, remove the physical SIM and restart your phone.
Common things that go wrong
- Wrong EID. An incorrect EID is the most common cause of a failed profile. Double-check it before sending.
- No Wi-Fi during install. Downloading the profile needs a stable internet connection. Use Wi-Fi, not the very mobile data you are about to switch.
- Expecting it to be instant. All three networks have a processing delay — Jio’s is a fixed two hours; Airtel’s can run a couple of hours. This is normal.
- OTP blackout. Because SMS can be briefly suspended during the switch, do your banking and other OTP-dependent tasks before you begin.
The bottom line
For most people on a modern phone, switching to an eSIM in India is free, takes under an hour of mostly-waiting, and you will barely notice the difference afterwards — except that there is one less tiny piece of plastic to lose. If you change phones often, a physical SIM still has its place. If you do not, the eSIM is the tidier option.